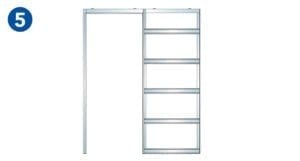
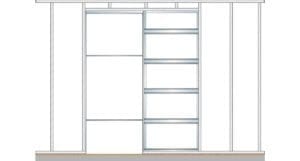
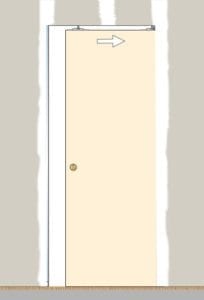
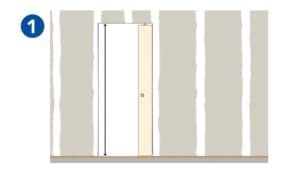
Increasingly popular, sliding doors more often find a place in your interior design. Unlike a traditional door, it slides into the partition and does not clutter the surface of the finished floor – the space is optimized in each of your rooms.
Professional or handyman, you can install a sliding door successfully provided you follow certain rules. In this article, we will go through the assembly and installation process of Eclisse Pocket Door System.
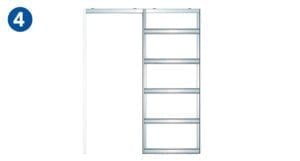
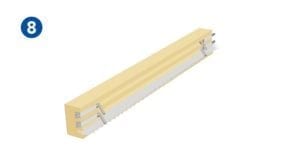
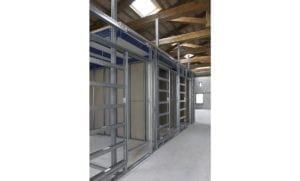
The assembly of the frame starts with the assembly of the main trunk:
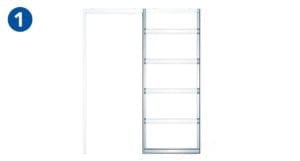
Assemble the trunk parts by clipping the two vertical pillars to the horizontal bottom part.
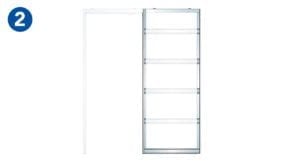
Screw the top horizontal part to the two vertical pillars.
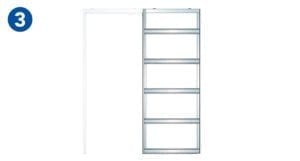
Clip the remaining horizontal bars on both sides of the vertical pillars. Insert temporary polystyrene spacers between the horizontal bars so that the frame remains rigid during fixing of the plaster board.
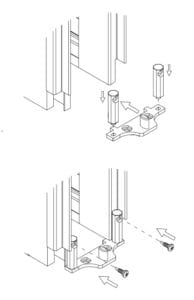
Insert the rail into the top horizontal bar (in-between the vertical pillars).
Fix the metal vertical post to the top rail.

Insert the temporary spacers between the post and the pillar. They prevent deformation of the passage during installation.
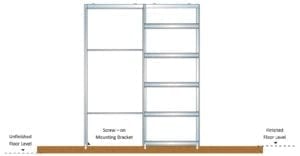
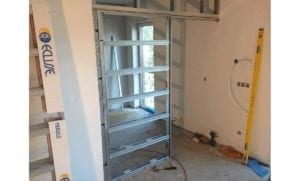
It is important to note, all measurements are from the final finished floor lever i.e. carpet. If your floor is unfinished the level needs to be adjusted accordingly:
Unfinished Floor
On an unfinished floor, the metal frame must be raised to the level of the finished floor. Why? Because if the frame is fixed below the level of the finished floor, not only will the passage height be reduced, but the door panel will have to be cut to reduce the height as there will not be enough space to manoeuvre the door into the opening. Simple wooden blocks can be used to raise the frame to the finished floor level.
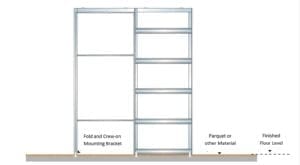
Finished floor
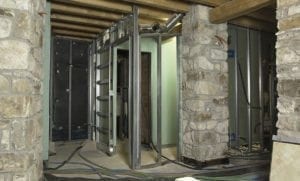
Once the frame is fixed to the floor, you will need to measure the height between the floor and the horizontal stud partition screwed to the ceiling, then cut the vertical stud partition at the height measured. Next, screw on the partition posts on each side of the frame. Please note, before attaching the other studs to the frame, check that the structure is perfectly vertical and level. This check is essential for the door to slide properly.
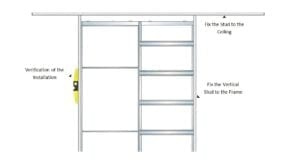
Then you can attach the frame to the rest of the stud partition. Your frame is ready.
To mount the plasterboard onto the frame, we recommend using 3,9×19 mm screws spaced 30 cm apart and 1cm screwed 1 cm from the edges. Please note other size screws could scratch the door panel. Once all the plaster boards are screwed on, the temporary polystyrene spacers and metal spacers can be removed.
Note: At this stage it is important to note the importance of choosing frame of a high quality – it does not bend when the plaster board is applied.

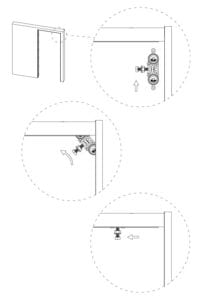
To begin, if your frame is equipped with a ground guide, also called a door guide, install it at the bottom of the frame. As its name indicates it will allow the sliding door to slide in the straight line and thus avoid any friction or deviation of the door. You can now prepare your sliding door. Screw the brackets on each edge of the door – generally placed at 12 cm from the edges. Next, insert the two rollers into the edges of the rail and fix the bolts.
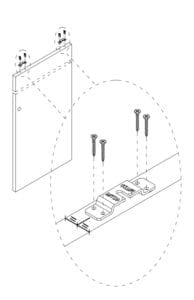
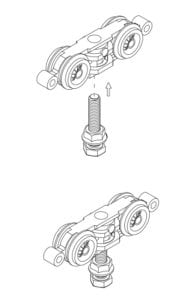
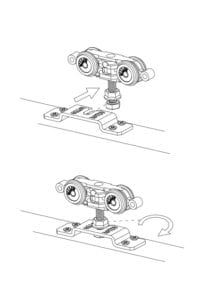
First, the two rollers are inserted into the rail of the frame. Then, install the door by interlocking the bolts in the channel with the bracket fixed to the door. To help you position the door, you can use small wedges on the floor – so the door is at the right height and it is easier to install. When the bolt is engaged with the bracket, you can tighten the nuts with a flat key. Your door is now installed.
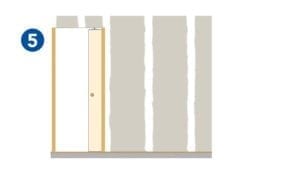
Measure the height from the rail to the finished floor.
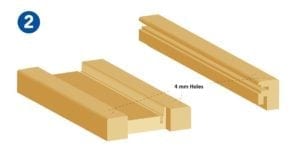
Cut the two vertical jambs and the post at the height measured. Use template to make 2 holes of 4 mm on each top side of the post and vertical jambs. These will fix the transom (top of the jambs).
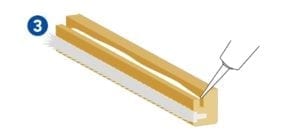
Insert a brush seal into jamb groove – cut off excess with scissors. The brush seal prevents dust from entering the frame.
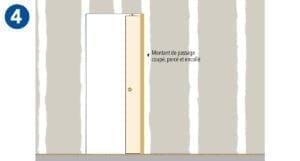
Glue on the jambs on each side of the frame on the side where door slides out of the pocket. The holes are positioned upwards.
Fix the door post on the opposite side – the door will be closing up again it. The post can be fixed with screws of 40 mm length and 4 mm diameter or with the glue.

Insert the rubber seals into the door post – cut off excess with scissors.
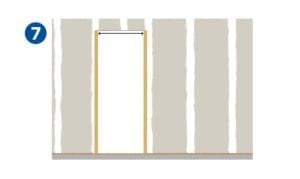
Measure the distance between the pillars to determine the width of the horizontal jamb.
Cut the two horizontal pieces to the width measured – one for each face side. The eight fastening keys then will need to be inserted into the grooves at each end of the horizontal jamb.

Fix the horizontal jambs. You can then slide the fastening keys into the holes you have drilled at the top of the post and vertical jambs. If the tip of the crossbar protrudes, the excess must be cut so that it does not damage the door panel.

Glue the gaskets between the jambs and the plaster board to mask the junction. The jambs can be held with clamps during the setting time of the adhesive.
After a few hours of work and following our installation guide you now have a fully operational sliding door! Well done and thank you for following our step by step article. If you have any questions or would like more information, please give us a call on 091 743 100 or email info@pocketdoors.ie.
PS: Do not hesitate to share your photos … during / after the installation, it is always useful for other readers.


Copyright 2018 Pocket Doors. All rights reserved. Website by ![]()